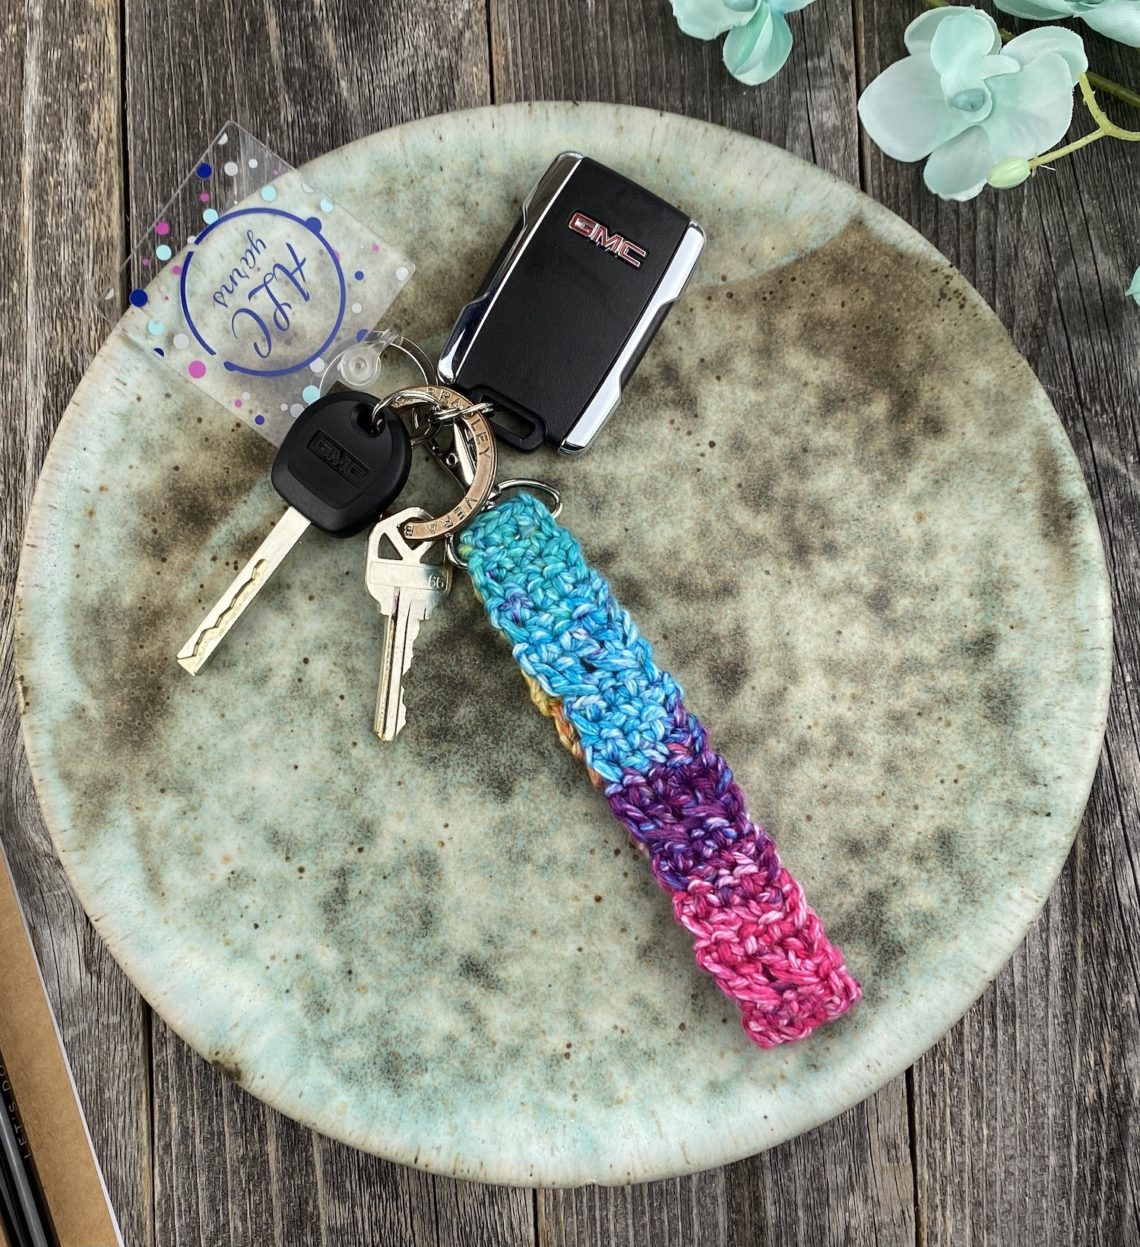
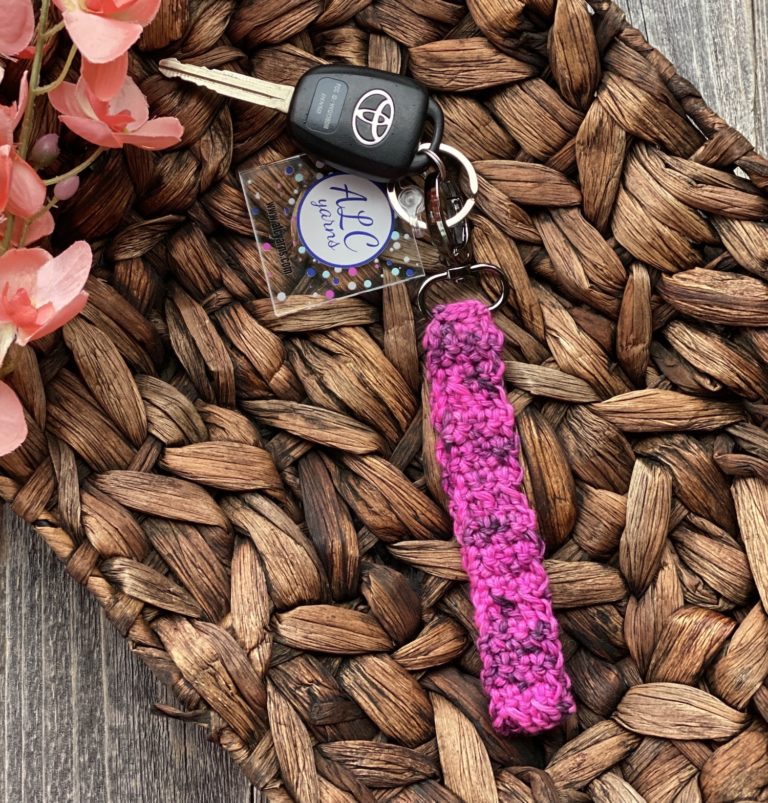
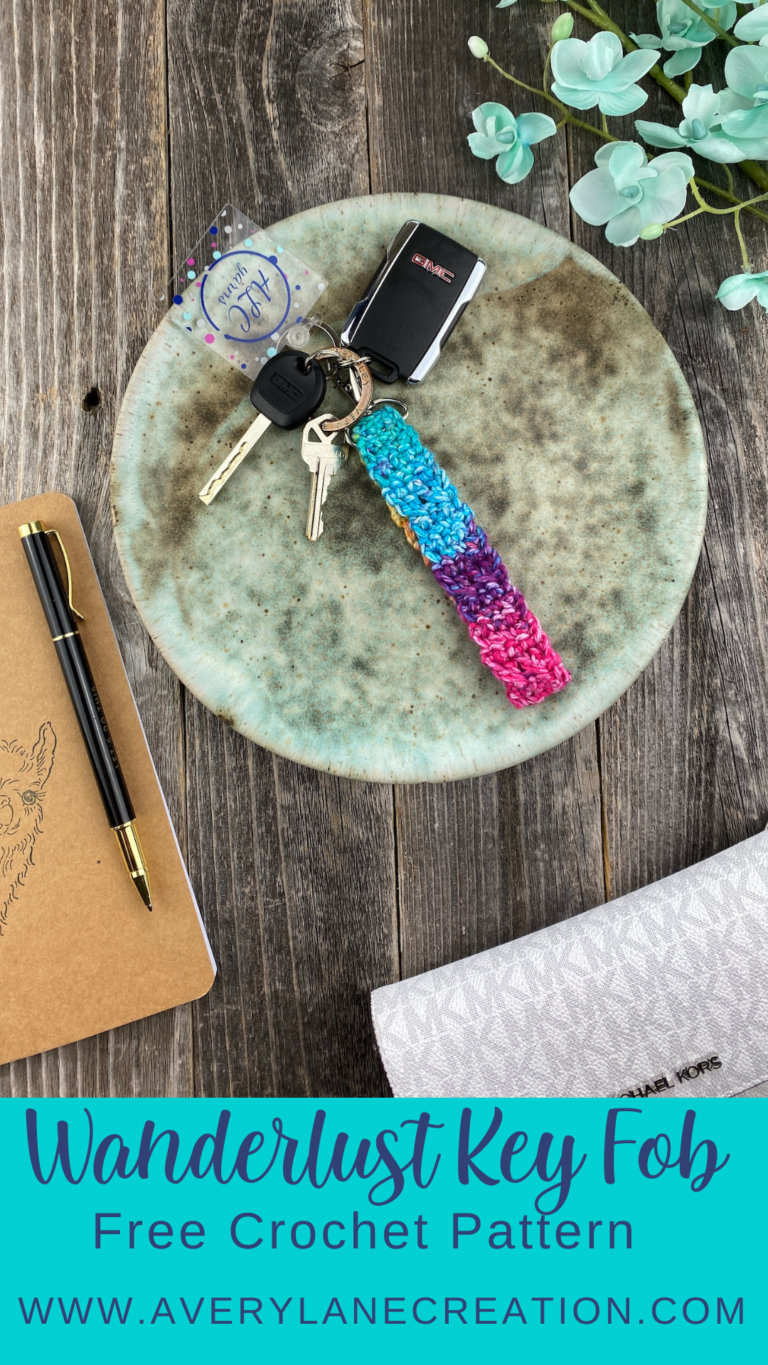
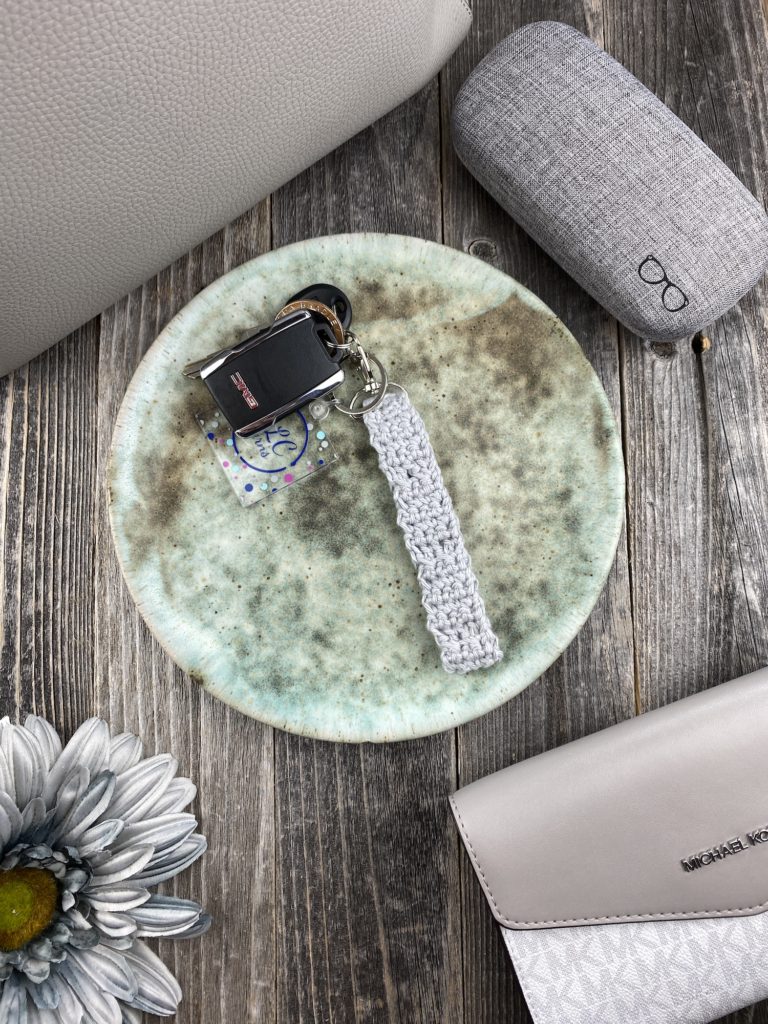
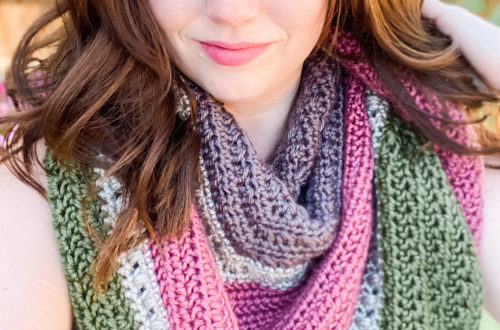
The Wanderlust Key Fob has become one of my go to crochet projects. I am super excited to share this quick and easy crochet pattern with you.
I love being able to crochet useful items and this key fob is definitely one of them. I know I am not the only one who tries to carry way too many things in from the car. I refuse to make a second trip! Let me just say I am level expert at how to make only one trip but I would lose my keys every single time. They would either be down in a random grocery bag or in my purse lost forever, so this key fob has been the perfect solution. I can have quick access to my keys even when my hands and arms are full and I can easily find my keys when they are down inside my purse.
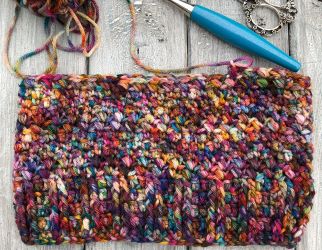
The Wanderlust Key Fob is a perfect crochet project for those scraps of yarn that you don’t have a lot of but love too much to get rid. I like to use worsted weight yarn to make these. My favorites are cotton for durability and hand dyed yarn for all the color.
Herringbone Half Double Crochet (HHDC): Yarn over, insert your hook into the next stitch, yarn over, pull up a loop, pull that loop through the next loop on your hook (kind of like a slip stitch). This will leave you with two loops on your hook, yarn over and pull through both loops.
Crossed Double Crochet (CDC): For the crossed double crochet, skip the first stitch and double crochet in the next stitch, go back to the skipped stitch and double crochet in front of the previous double crochet.
Notes
This pattern uses American Standard Terms.
The chains at the beginning of each row do not count as a stitch.
I am a tight crocheter so be sure to use measurements or gauge swatch.
You may want to mark the front of your first double crochet row so you know which side is the right side.
For the first row, I like to crochet into the back bump of the chain stitch. I just think it has a neater look.
I made my key fob 10 inches long so I could put it around my wrist and still grip it in my hand. I recommend trying your wristlet on before folding the ends together and single crocheting.
You can find the hardware needed for your key fob in the sewing section of a craft store or Walmart, or at the link above. I used a one-inch swivel clasp D-ring.
Pattern
CH 5
Row 1: Working in the back bump of the chain, HHDC in 2nd ch from hook, SC, HHDC, SC, CH 1, turn
Row 2: HHDC in first ST, SC, HHDC, SC CH 1, turn
Row 3: Repeat Row 2
Row 4: Repeat Row 2, CH 2, turn
Row 5: CDC across row, CH 1, turn
Row 6: Repeat Row 2
Row 7: Repeat Row 2
Row 8: Repeat Row 2
Row 9: Repeat Row 2
Row 10: Repeat Row 2, CH 2, turn
Repeat Rows 5, 6, 7, 8, 9, & 10 in that order until you reach 10 inches or desired length. At 10 inches, I ended on a Row 10 repeat.
When you reach your desired length, do not fasten off. CH 1, fold ends together, be sure the right side is facing out and it’s not twisted. Add D-ring or key ring.
SC last row and chain row together. Fasten off. Leave a long tail. Move the key ring until it is flush with the bottom of the SC row you just made. Hold the key ring in place and whip stitch under the key ring all the way across and then go back across to the other end. Check underneath to be sure the key ring is secure. Weave in ends.
I hope you will share pictures of your Wanderlust Key Fobs with me. Feel free to tag me on social media and use the hashtags #alcpatterns and #alcyarns
This website uses cookies to improve your experience. We'll assume you're ok with this, but you can opt-out if you wish. Cookie settingsACCEPT
Privacy & Cookies Policy
Privacy Overview
This website uses cookies to improve your experience while you navigate through the website. Out of these cookies, the cookies that are categorized as necessary are stored on your browser as they are essential for the working of basic functionalities of the website. We also use third-party cookies that help us analyze and understand how you use this website. These cookies will be stored in your browser only with your consent. You also have the option to opt-out of these cookies. But opting out of some of these cookies may have an effect on your browsing experience.
Necessary cookies are absolutely essential for the website to function properly. This category only includes cookies that ensures basic functionalities and security features of the website. These cookies do not store any personal information.
Any cookies that may not be particularly necessary for the website to function and is used specifically to collect user personal data via analytics, ads, other embedded contents are termed as non-necessary cookies. It is mandatory to procure user consent prior to running these cookies on your website.


2 Comments
Pingback:
Pingback: