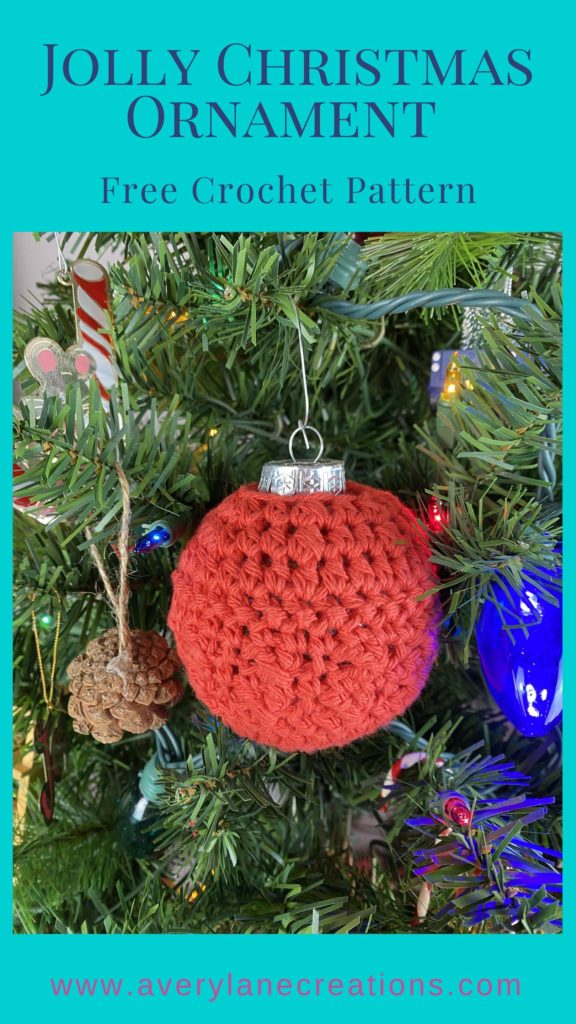
Free Crochet Pattern- Jolly Christmas Ornament
Holiday season is here 🙂 I love creating handmade pieces for my home almost as much as I like gifting handmade goodies to family and friends!
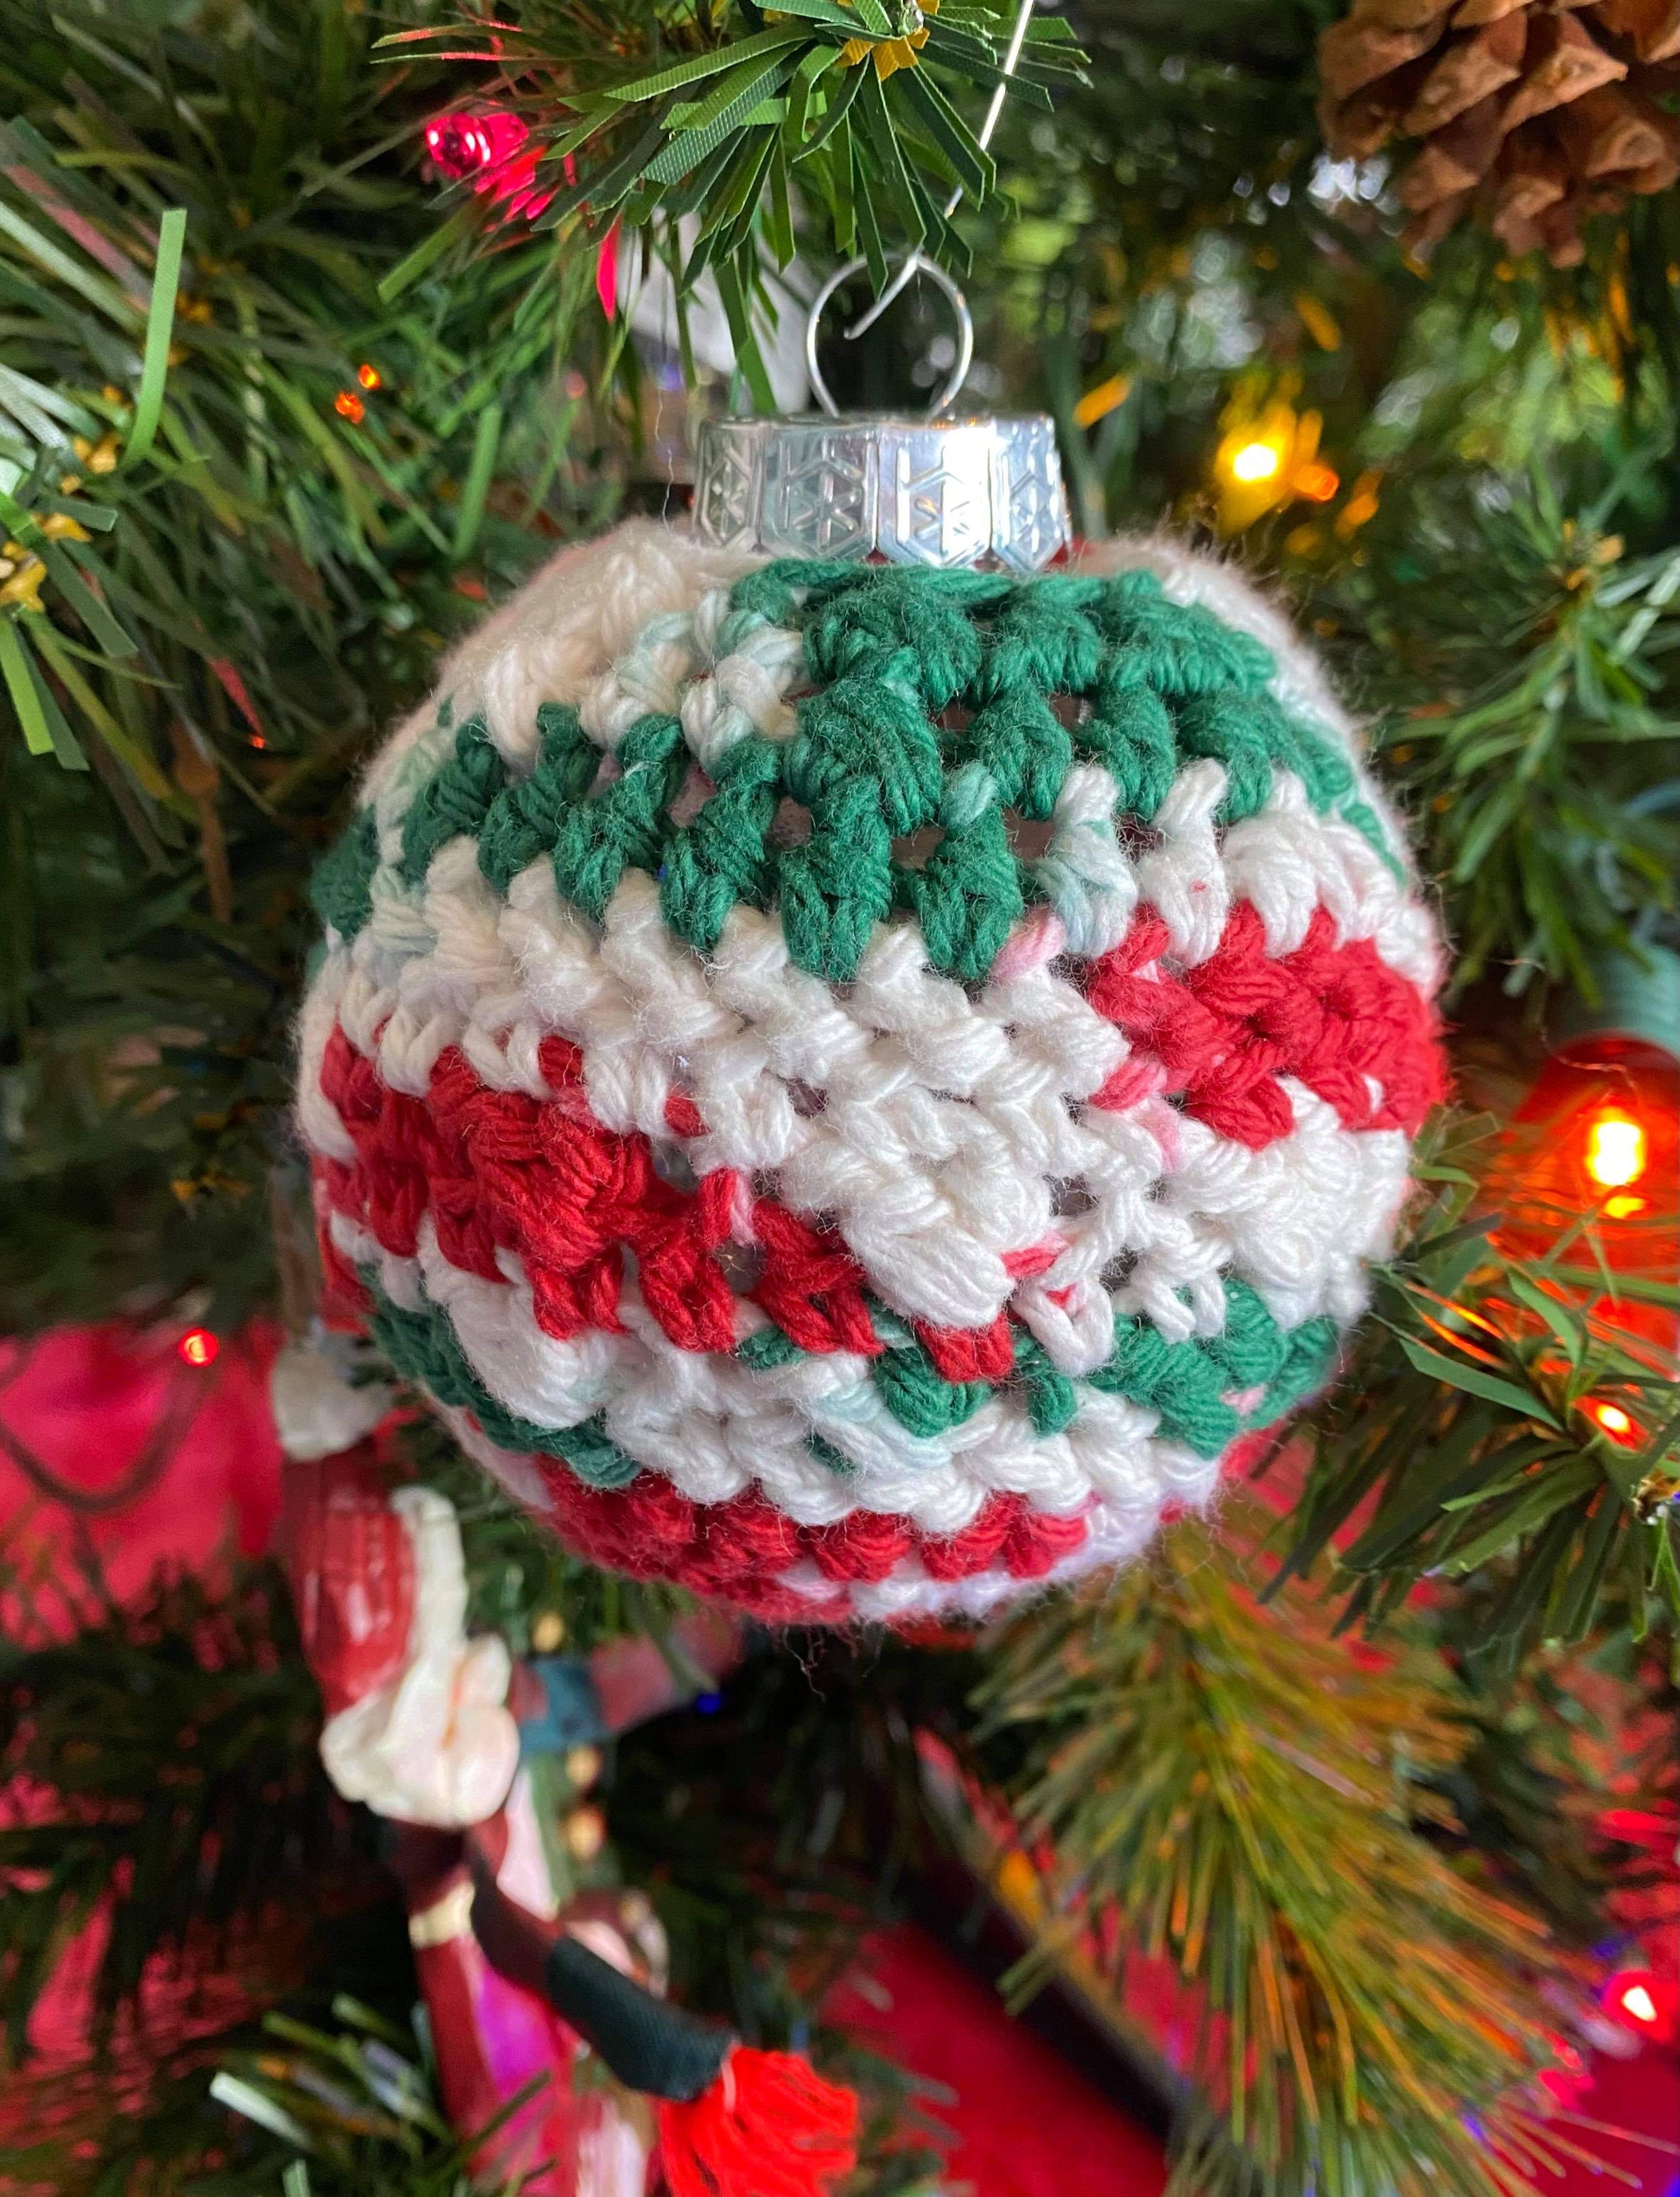
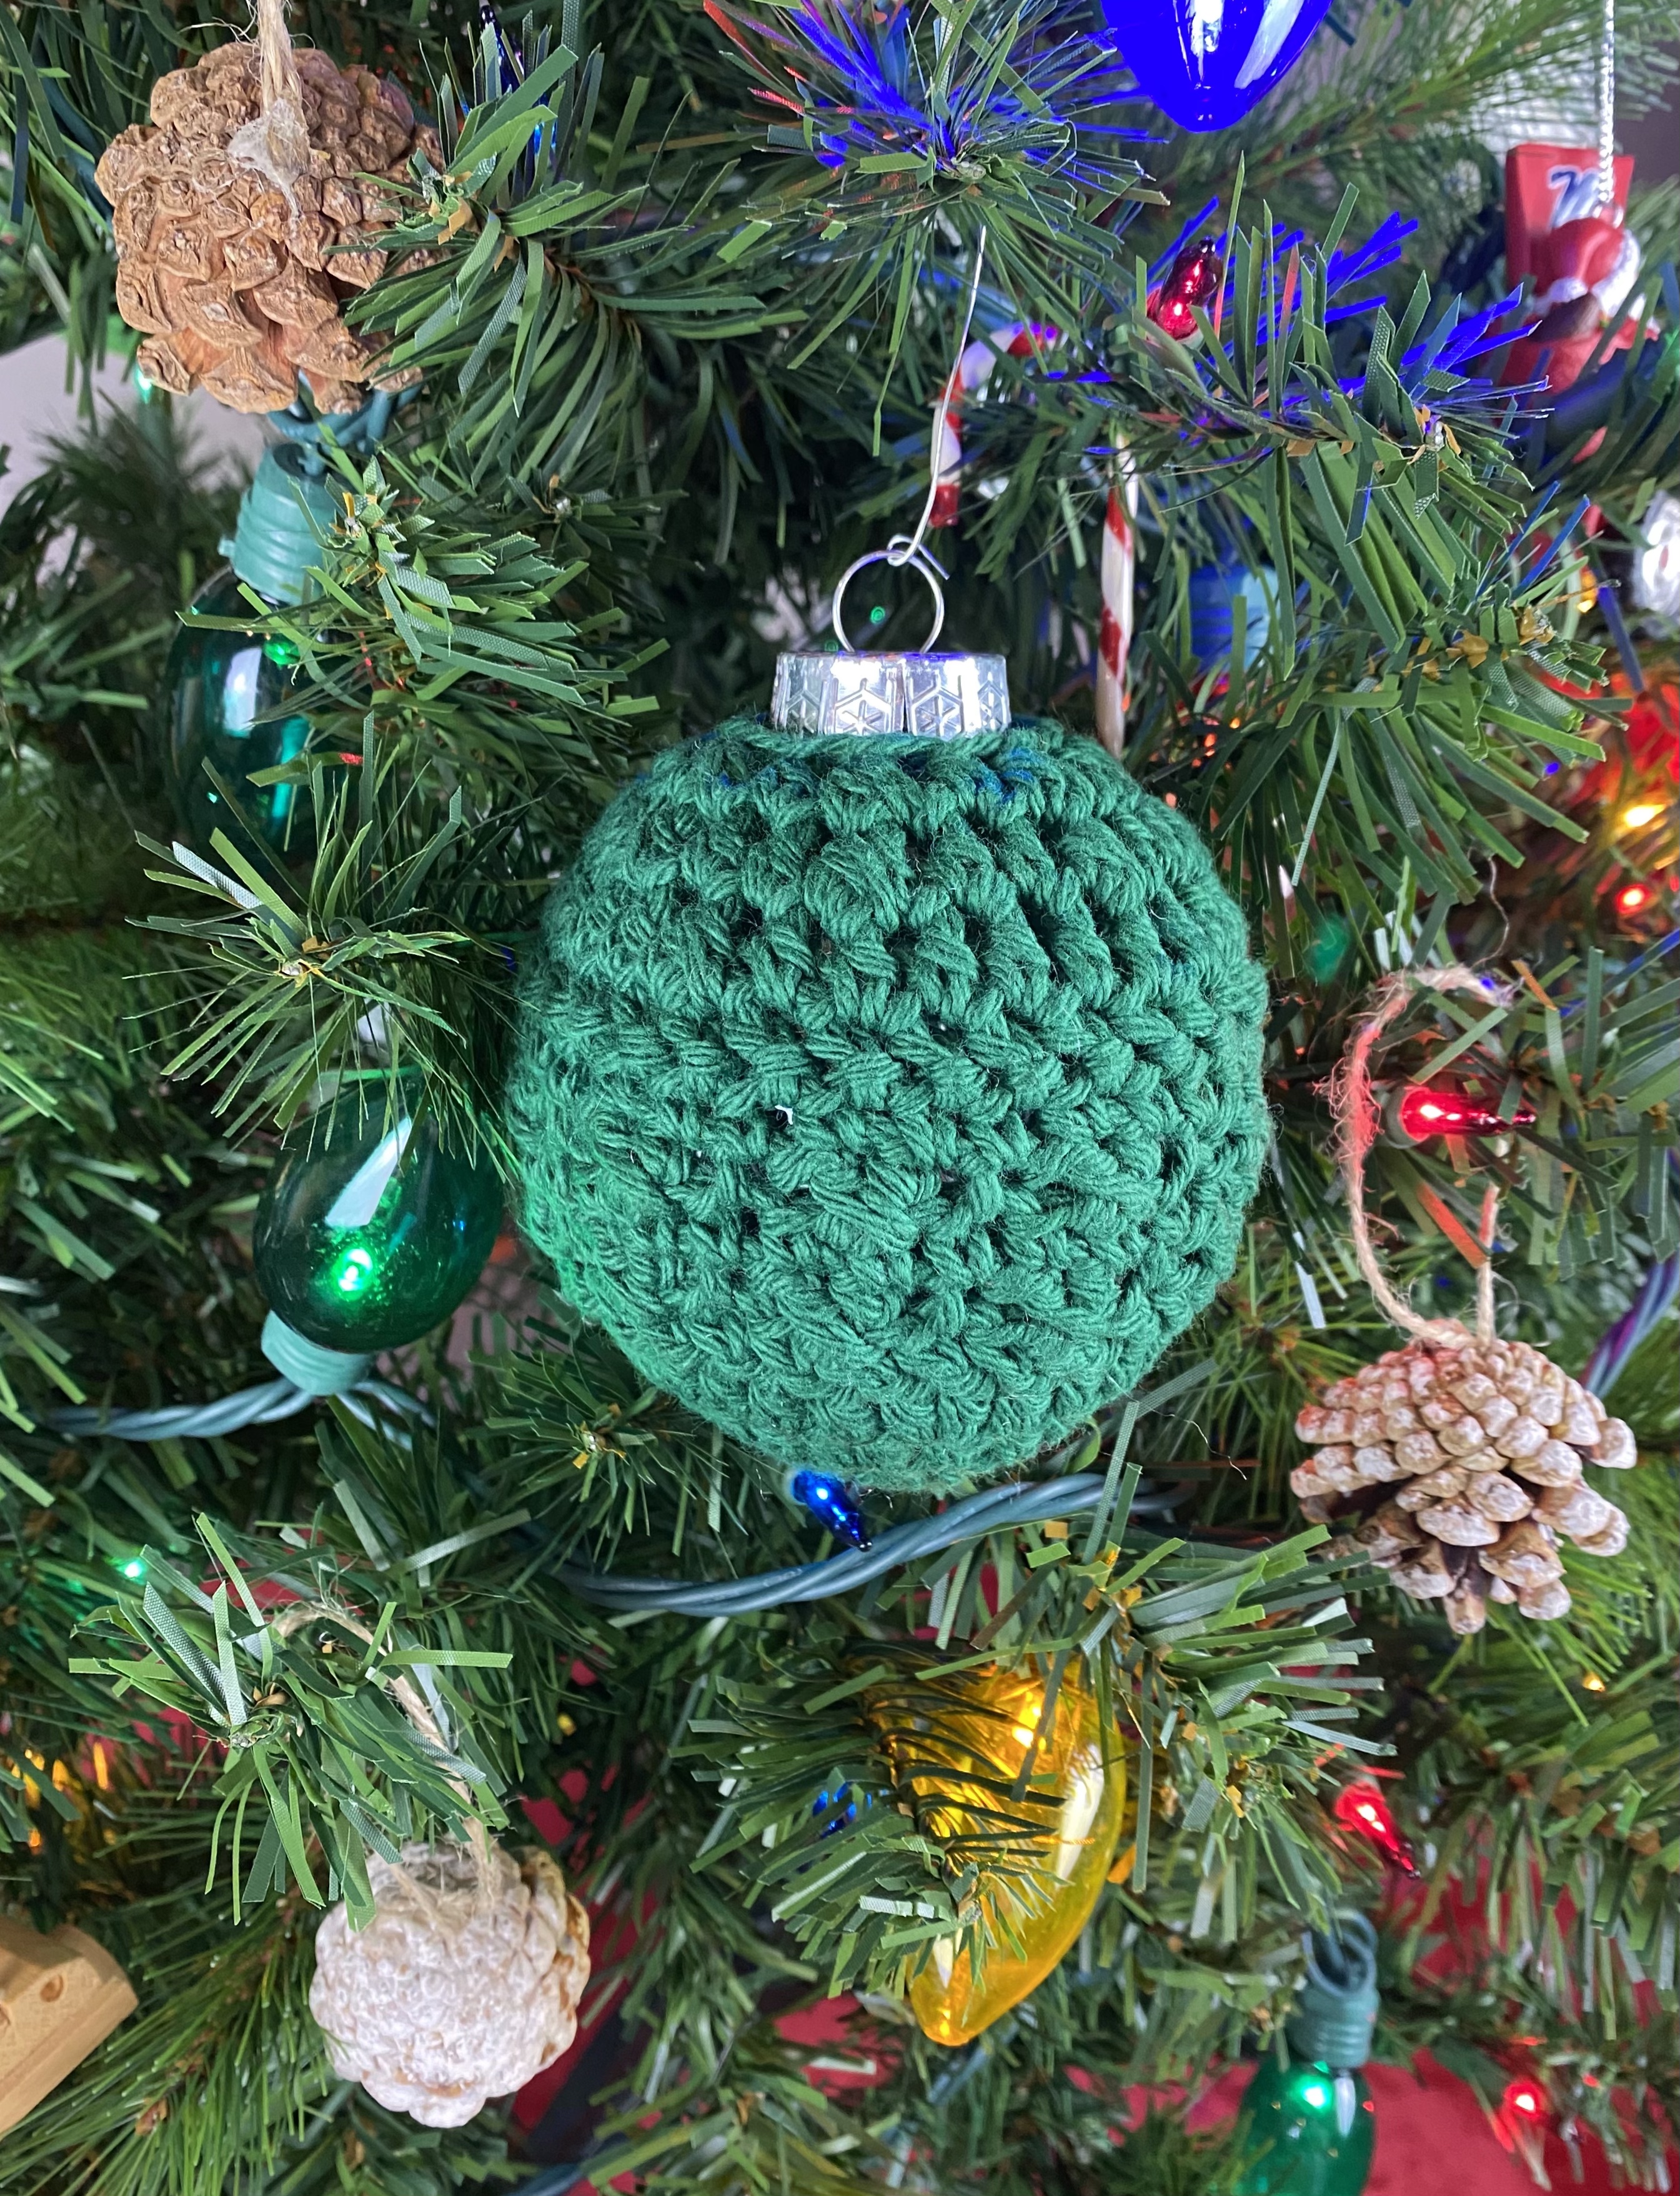
I am sharing the Jolly Christmas Ornament pattern with you today.
Friends these ornaments work up so quick, you aren’t going to want to make just one! Get in the holiday spirit with these!
The pattern calls for worsted weight yarn. I used Peaches and Creme cotton yarn. They have a great colorway for the holidays called “Mistletoe”. How perfect is that! The photo below is my Jolly Christmas Ornament worked up in the Mistletoe colorway.
Materials
- I/5.5mm
- 80mm Clear Plastic Round Ornament Balls (Optional! If you don’t use ornament balls you can use poly-fil to stuff your ornament!)
- Tapestry Needle
- Scissors
Abbreviations
MR: Magic Ring
CH: Chain
MC: Magic Circle CH: Chain ST(S): Stitch(es) SLST: Slip Stitch SK: Skip
HDC: Half Double Crochet
HHDC: Herringbone Half Double Crochet (see page 5 for special stitch instructions)
DC: Double Crochet HDC2TOG: HDC Decrease
Gauge
14 HDC stitches by 11 rows = 4 inches
Notes
- This pattern uses American Standard Terms.
- Be sure to count your stitches after each round.
- After several rounds sew in the end of your magic circle because you won’t be able to once you finish the pattern. After Round 12, insert the ornament ball into your work and finish the pattern crocheting around i.
- If you use a thinner cotton yarn, be sure to gauge swatch.
Special Stitch Instructions
HHDC (Herringbone Half Double Crochet): Yarn over, insert your hook in the next stitch, yarn over, pull up a loop, pull that loop through the next loop on your hook (kind of like a slip stitch), this will leave you with two loops on your hook, yarn over, pull through both loops. You can find my YouTube tutorial here.
Ornament Pattern
MC
Jolly Christmas Ornament
Round 1: CH 1, 6 HDC in MC, SLST to 1st HDC (6)
Round 2: CH 1, 2 HDC in same ST as CH 1, 2 HDC in each ST in round, SLST to 1st HDC (12)
Round 3: CH 1, 2 HDC in same ST as CH 1, HDC in next ST, *2HDC in next ST, HDC in next ST, repeat from * to finish round, SLST to 1st HDC (18)
Round 4: CH 1, 2 HDC in same ST as CH 1, HDC in next 2 STS, *2 HDC in next ST, HDC in next 2 STS, repeat from * to finish round, SLST to 1st HDC (24)
Round 5: CH 1, 2 HDC in same ST as CH 1, HDC in next 3 STS, *2 HDC in next ST, HDC in next 3 STS, repeat from * to finish round, SLST to 1st HDC (30)
Round 6: CH 1, HHDC in same ST as CH 1, HHDC in each ST in round, SLST to 1st HHDC (30)
Round 7: CH 2, SK CH 2 ST, DC in next ST, go back & DC in same ST as CH 2, *SLST in next ST, SK next ST, DC in next, go back & DC in SK ST, repeat from * to finish round, SLST to 1st DC (30)
Round 8: CH 1, SC in same ST as CH 1, SC in each ST in round, SLST to 1st SC (30) Round 9: Repeat Round 7
Round 10: Repeat Round 8
Round 11: Repeat Round 6
Round 12: CH 1, HDC2TOG, HDC in next 13 STS, HDC2TOG, HDC in next 13 STS, SLST to 1st HDC (28)
INSERT CLEAR ORNAMENT IN YOUR WORK then continue to Round 13 (be sure you have weaved in the end of your magic circle)
Round 13: CH 1, *HDC2TOG, HDC in next 2 STS, repeat from * to finish round, HDC2TOG in last 2 STS, SLST to 1st HDC (22)
Round 14: CH 1, *HDC2TOG, HDC in next ST, repeat from * to finish round, HDC2TOG in last 2 STS, SLST to 1st HDC (14)
Fasten off and weave in end. Or if you are keeping it for yourself just tuck that end in the back.


You can find me on Facebook and Instagram. Check out my hand dyed yarns in my Yarn Shop.


5 Comments
Bita Arabian
Hi! Is there a video to go with this ornament?
Nicky
Hey there! I do not have a video for it but I will add it to my list of videos to make. 🙂
sara
thank you. this was crazy easy not sure I had the 80mm ornament. Thinking it was smaller. was able to make adjustments. perfect quick make that I could add to a package. really fun too.
Nicky
I am so glad that you enjoyed it! It is a fun pattern! Thank you for commenting!
Pingback: